This is my mom's recipe and her recipe card was titled "Good Cookie", so that's what we call them...Good Cookies.
In honor of my mom, I want to share her recipe for Good Cookies. We miss her every day, but especially during the holidays.

This cookie is sugary, crispy and tender at the same time. The recipe makes a lot too...80+ cookies, depending on the size you make them.

Good Cookie
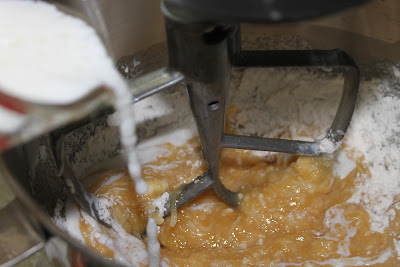
1 cup oil1 cup butter, softened1 cup packed brown sugar1 cup sugar1 cup plain corn flakes1 cup quick cook oatmeal3 1/2 cups flour1 teaspoon baking soda1/2 teaspoon salt1 egg, beaten1 teaspoon vanilla extract1/2 cup chopped nuts...I use walnutsextra white sugar for toppingMix all ingredients together in large bowl with a mixer. Hand roll a spoonful of dough into a ball and place on ungreased cookie sheet 2 inches apart. I roll my balls about 1 inch to 1 1/2 inches wide.
Take a drinking glass and moisten the flat bottom of the glass on a wet or dampened paper towel. Then dip the wet glass in a bowl of white sugar. Flatten each ball with the sugared glass. Flatten to about a 1/4 inch.
You can also use colored sugar for the holidays too!!
Bake at 375* 8-10 minutes or until golden on the edges. Cool on cookie sheet for a few minutes then transfer to cooling rack.
Dough may be refrigerated for several days before baking.

Enjoy,
~Karen~